You can set up a Medical ID and Emergency SOS on your iPhone running iOS 10 firmware. Read on to know how you can easily set up this on your iPhone with iOS 10.
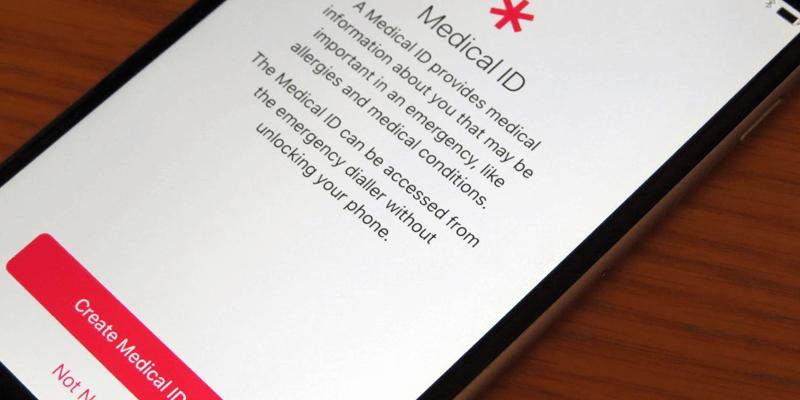
How to Set up Medical ID on iPhone in iOS 10
Apple’s Health app is present in every iPhone. Turning it on for the very first time will prompt you to create a Medical ID. Your name as well as your image present on your card from the Contacts app will appear. Your height, weight, sex and date of birth can also be added.
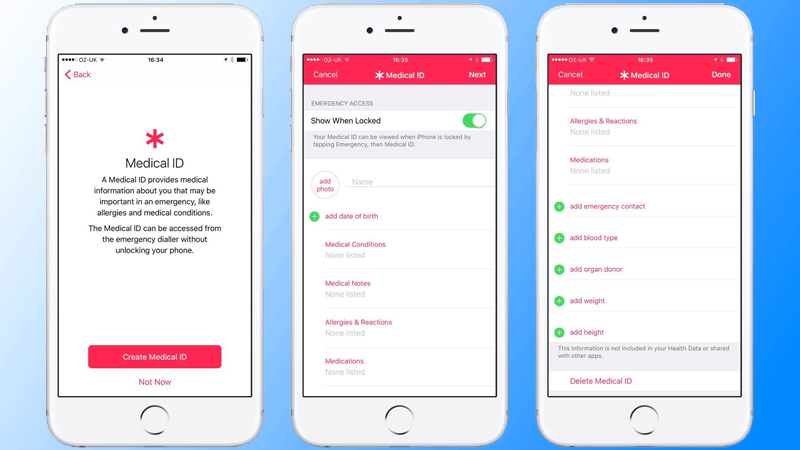
Be thorough when creating your Medical ID. Who knows, it might be something that saves your life someday. Follow these steps:
- The ‘Show When Locked’ switch will be turned on by default. It is advised that you don’t turn it off.
- You should enter any medical conditions that you might have.
- You should enter any medical notes.
- You should list your allergies.
- Enter all your current medications if you take any.
- Tap the ‘add emergency contact’ option to display your contacts.
- Select a person you want to add along with their preferred phone number and their relationship with you. You can add more than one emergency contact.
- Type in your blood type.
- Now tap ‘Next’.
- Simply, tap ‘Done’ once you’re satisfied with the date you have added.
You can also become an organ donor by registering with Donate Life. You just need to provide the app with your contact information.
Date from your Medical ID can be updated or deleted by accessing it from the Health app. Go to Health app and tap the Medical ID button.
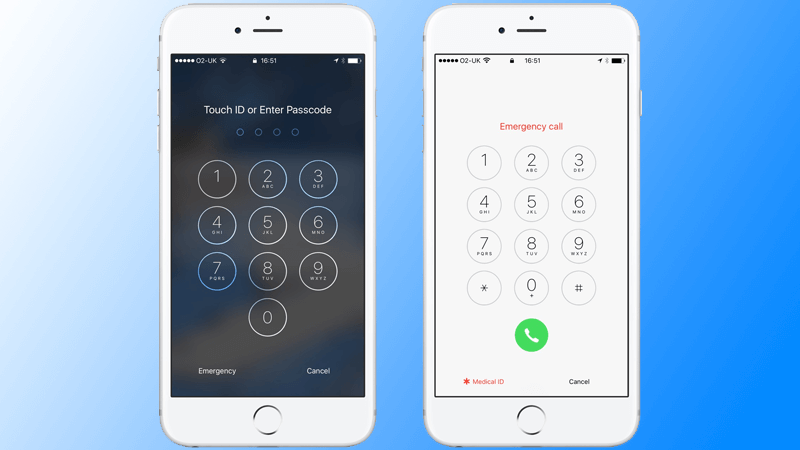
If the ‘Show When Locked’ switch is turned on, your Medical ID can still be accessed by:
- You’ll need to press the home button. Just swipe for devices running on iOS 9 or earlier versions.
- You’ll see the passcode keypad.
- Tap the Emergency option.
- Tap on Medical ID.
The Medical ID can also be accessed through your Apple Watch by:
- The side button needs to be pressed and held until you see the Medical ID slider.
- Now, swipe right on the slider.
Sending an Emergency SOS
The Apple watchOS 3 has a variety of new capabilities. The side button can be used for an Emergency SOS. Up to three of your SOS contacts can be alerted.
- Tap the Watch app from your iPhone.
- Go to General.
- Tap on Emergency SOS.
With the ‘Hold to Auto Call’ switch on, the side button of the Apple watch can be pressed and held for calling emergency services. An SOS text message will also be sent to the three SOS contacts you have selected.
Using Emergency SOS on Apple Watch
- Your iPhone needs to be near you.
- The Apple Watch should have a wi-fi connection and wi-fi calling should also be set up on your iPhone. You can do this by going into Settings, Phone, and then Wi-Fi Calling.
Activating Emergency SOS on Apple Watch
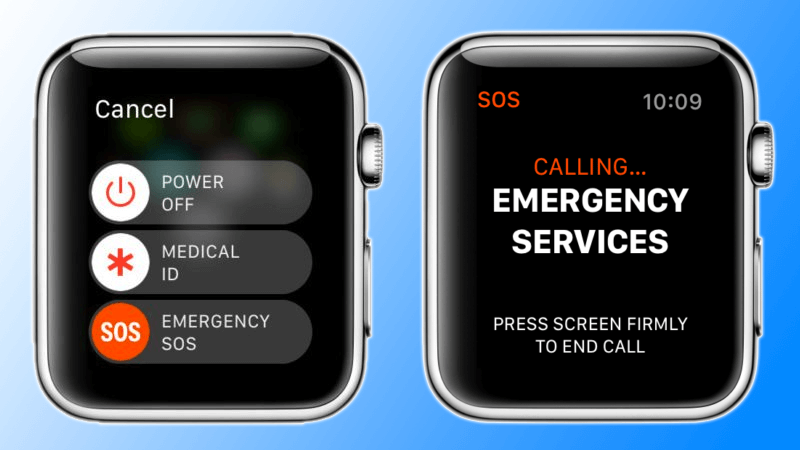
- Simply, press and hold the watch’s side button.
- If the ‘Hold to Auto Call’ option is on, you can keep holding the button. The Emergency SOS slider can also be swiped right.
- You will have to wait a bit for the countdown to be initiated and for the alert to sound.
- Once the countdown is over, emergency services will be automatically called by your watch.
- After the end of the call, a text message will be sent out to your SOS contact.
So, go ahead and activate these two features for added safety.


