Is your iPad or iPhone slowing down or appearing slugging after you use it for a while? Perhaps you need to learn how to free up RAM on iPhone. While iOS does a great job at managing the memory packed into its shipped devices automatically, there are occasional hiccups, as with every other software out there.
Restarting the device usually removes these issues until the next time, but some find that process to slow. Luckily, there’s a quick method to flush the iOS device’s RAM so you can get the speed of your tablet or iPhone up again. This post will teach you how to free up RAM on iPhone step-by-step.
How to Free Up Ram Memory on iPhone
Free Up RAM Memory on iPhone
The steps to free up RAM space on iDevice is different to hard or soft reboot, and it is useful especially for old-generation iDevices with 1 GB or less RAM running the latest versions of iOS firmware.
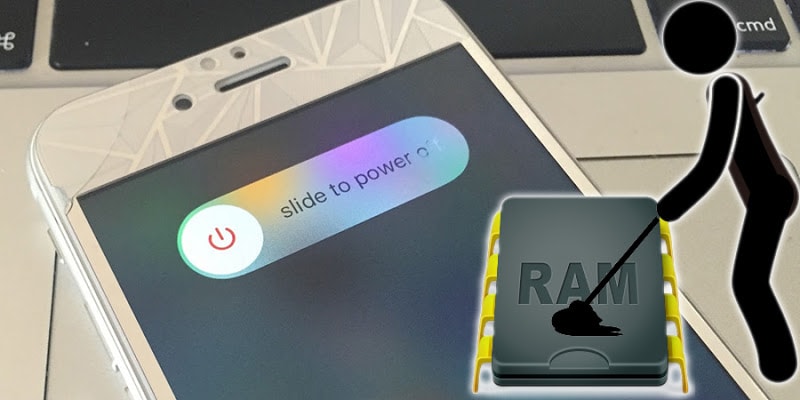
- To start, hold down the Power button on your iDevice till you see the message “slide to power off” on the screen.
- Don’t cancel, and avoid sliding the button to switch off the device.
- After the “slide to power off” message appears on the screen, release the Power button, and hold down the Home button for a few seconds until the screen flashes black and go back to the Home screen.
Video guide on how to Free Up RAM Memory on iPhone
That was it. Unlock the device and tap twice on the Home button to bring up the app switcher. It will show that all running apps are there still, however, if you try switching to any of them, you’ll notice them reloading. This is because the steps outlined above were a demonstration for how to free up RAM on your iPhone; you will flush all your unimportant data from the RAM, so you’ll have a smooth and clean environment to operate in.
Read Also: 7 Tricks to Make your iPhone Faster
While this method may not be a complete substitute for the good old hard-reboot or restart, if you want to really know how to free up RAM on iPhone, it will come in handy. However, it is unlikely that people who own new iDevices, like iPhone 6s Plus, iPhone 6s, iPad Air 2 and iPad Pro with 2GB RAM or more will ever attempt this method. But as stated above, on older iPads and iPhones running iOS 9 and above, this will be quite useful.


