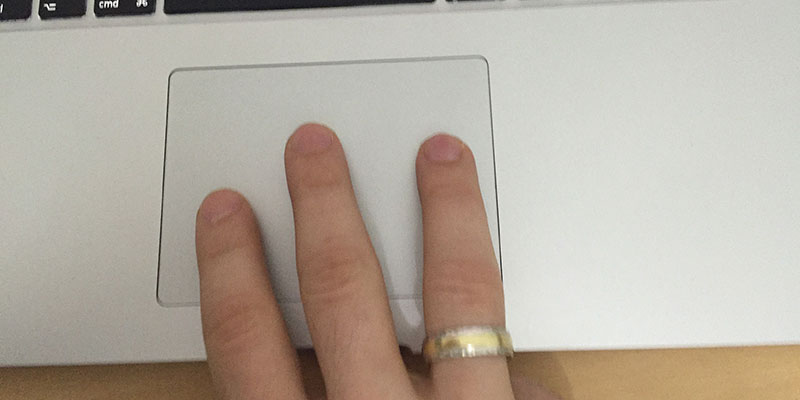
The new MacBook Pro late 2016 comes with an enormous trackpad! If you take a closer look or even compare the TrackPad to an iPhone 7 Plus – you should be able to find the similarity. TrackPad isn’t just used to move the cursor around the display, rather it is a creative tool that empowers creative professionals to make most out of their passion and profession through mouse strokes on the MacBook laptops. Read on to find out how to enable three finger drag gesture on Mac easily.
There are few shortcuts provided with each MacBook’s track pad which may not be enabled as a default but left for the enthusiast users to figure out how to enable the features and work with the gestures. Three Finger Gesture on MacBook TrackPad is one such feature, requires some fiddling to be activated if not guided through. We have made that easy through this step by step instruction write-up.
How to Enable Three Finger Drag Gesture on Mac OS Trackpad
Previously, enabling the three finger gesture on MacBook computers were to be found inside the TrackPad section inside System Preferences. However, now that the operating system has been upgraded to Mac OS X El Capitan or MacOS Sierra, things have been rearranged a little bit. The TrackPad has also been updated to receive 3D touch feedback as well. Follow the steps below to enable three finger drag gesture on Mac easily.
- While in desktop with all programs closed, click on the Apple menu on top left corner. Click on System Preferences from the drop down menu.
- A new window will open which is System Preferences. If you are shifting from Windows to Mac then trivia for you – this is equivalent to Control Panel for Mac.
- On the forth row from top, find the option Accessibility. Should be located towards the right side of the screen. The Accessibility dialog box should have a handful of features in the left pane.
- Find and click on Mouse & Trackpad from the left pane on the Accessibility Windows.
- From the right side of the window, find Trackpad Options towards the bottom side. This should be located beside Mouse Options.
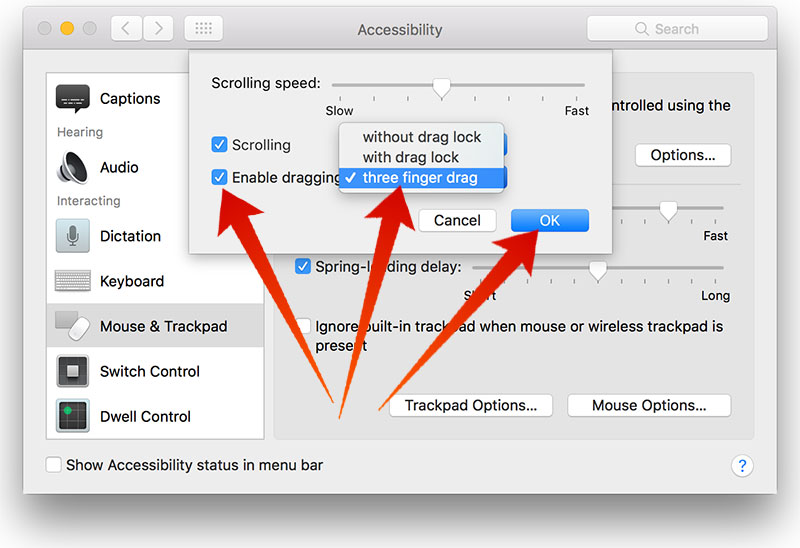
- A new tiny window should appear, overlaying the Accessibility window. Find the options ‘Enable Dragging’ with a checkbox at left, and a drop down option list at right.
- Check the Enable Dragging box.
- Click on the drop down option list. ‘Without drag lock’ should be selected by default, you need to select ‘three finger drag’ for the gesture to work.
- Once you have done both of these, you can now click the Ok button.
- Close the Accessibility window and get back to Desktop.
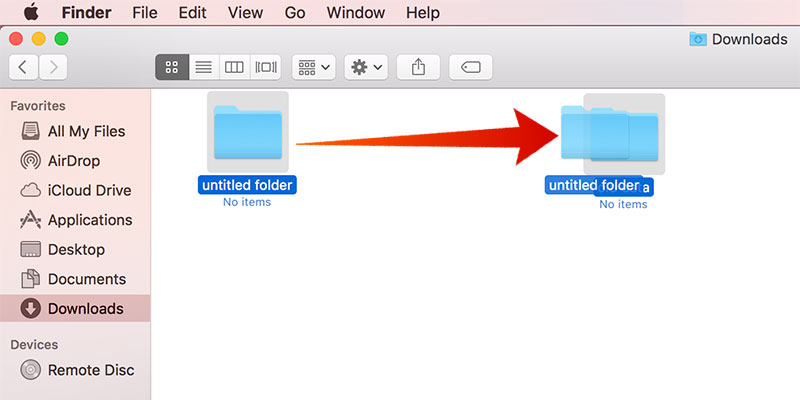
You’re Done. The three-finger drag gesture is now activated. Open an application which might support the three finger drag gesture. Try something, it should work by now.
Which MacBooks are Eligible for This Feature?
Pretty much any MacBook that had been released in the recent past years. However, you are at the best convenient spot if you own the latest MacBook Pro with Touch Bar on top, because this variant has the biggest TrackPad than any other MacBook.
Conclusion: Enabling the three finger drag gesture opens up an easier way of operating the MacBook. If you are a creative professional and own a MacBook, you should certainly enable this feature.
")


