Sharing the screen of the Mac and providing control to another individual can be advantageous in particular scenarios. Several third-party applications are available for sharing the screen of the Mac with a peer or someone who may be helping you to address a bug on your Apple computer. Though most of the third-party applications work good, many Mac owners are unaware that their device has a Screen Sharing feature built-in, and they can utilize it to remotely share control and view of the Mac’s screen with another person.
The best thing about this integrated Mac screen sharing feature is that it functions vice versa, meaning that you can provide access to your screen to another individual as well as control and see another person’s screen. This allows Mac users to conduct easy troubleshooting, as well as save time when they are helping a relative, parent or friend with a problem on their Mac. As a bonus, you also get access to a mic, so it is possible to communicate with another individual as you control their Mac screen.
Steps to How To Share Mac Screen Using the Screen Sharing Feature
Controlling someone’s Mac screen is pretty simple. You just have to take these steps:
Step 1: Access Spotlight – Command-Space – on your Mac and use the keyboard to type “Screen Sharing”.
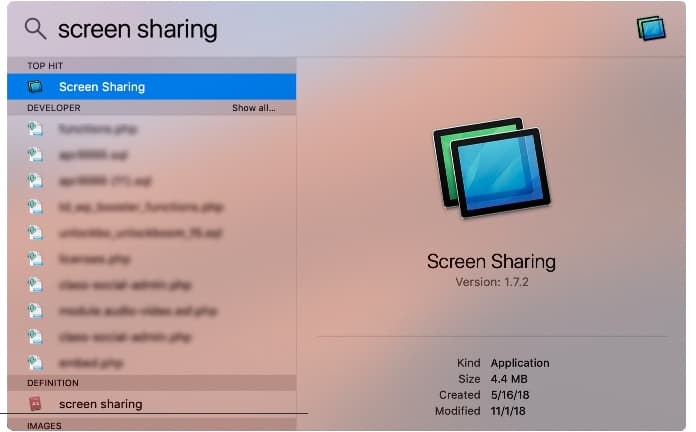
Step 2: Launch the Screen Sharing app from the search result.
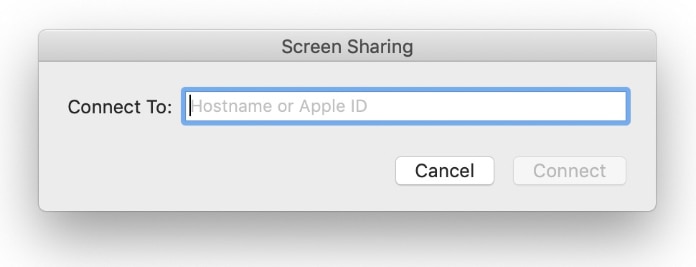
Step 3: Now a dialog box will appear, saying “Connect To:”. In this field, type the Apple ID or the IP address of the Mac whose screen you wish to access.
Step 4: Now you’ll see the following message ‘Waiting for response from username’.

When the other person accepts your request, you’ll be able to control and see their Mac screen.
See Also: Best 10 TeamViewer Alternatives for Mac and PC
How to provide another person with access to your Mac’s Screen
It is also possible to share the screen of the Mac with someone else. Just ask them to follow the same steps and ask them to enter your IP address or Apple ID in Step 3.
That’s it. These steps can be used to provide access to or gain access of someone’s Mac screen. Enjoy.


