If you are one of those people that don’t click on things that you are not fully sure about. Well, we are here to put you to ease. The Carrier Settings Update pop-up that you might have been getting is nothing to be worried about. Today we are going to teach you how to update carrier settings on iPhone easily.
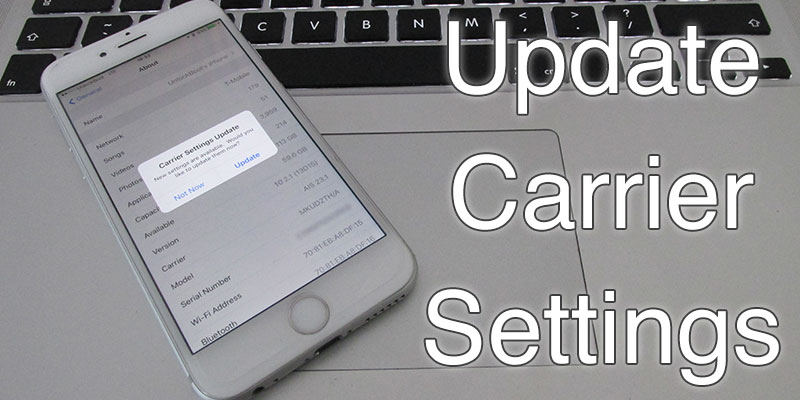
What exactly is the “Carrier Settings Update” pop-up on your iPhone?
An excerpt from Apple help site puts it as:
Carrier settings updates are small files that can include updates from Apple and your carrier to carrier-related settings, such as network, calling, cellular data, messaging, personal hotspot, and voicemail settings. You may receive notifications from time to time to install new carrier-settings updates.
In other words, if your carrier one day decides to change things up, by let say migrating to a different network, or changing its frequency, and they want to communicate that to the iPhone, they will use this method. It is easier to send out a small update to change only the carrier settings, instead of a full iOS update. Besides, Apple won’t release an iOS update every time a carrier decides to change things up.
Unlike using your PC or Mac to browse the Internet, which by the way automatically figures out changes in the hosts settings and directs you to latest version of the website, it is a bit more complex process for the iPhone.
If you are facing some issues with your network, it is best advised to promptly update your carrier settings. Usually, these updates will tackle a lot of problems that might be solely related to your network. These can include, accessing your voicemail, turning on your data, and connecting to the right cell tower. Follow the steps below to update carrier settings on iPhone manually.
How to Update Carrier Settings on iPhone
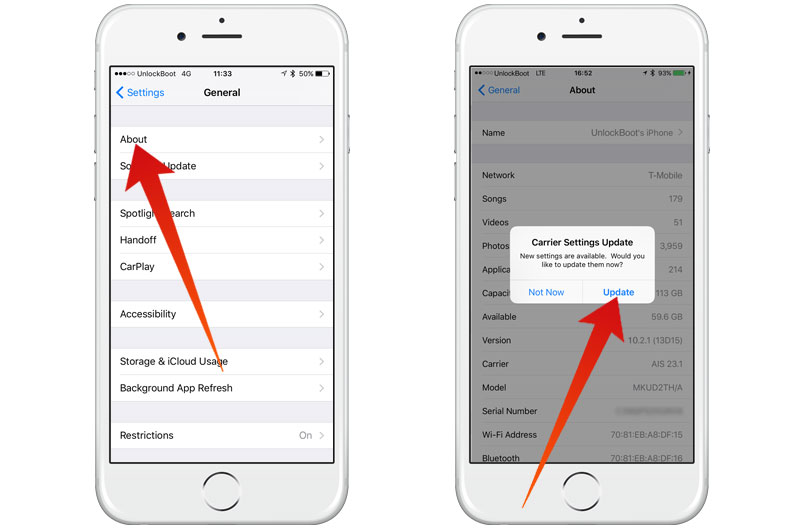
iPhone carrier settings update installation process
If you haven’t received one of those pop-ups you can go into Settings -> General -> About to check if there are any pending updates for your carrier. Usually, iPhone checks for them automatically, but now you know a way to check for them manually as well.
How to Manually Update Carrier Settings from iTunes
You can manually update carrier settings on iPhone using iTunes. To do that, just connect your iPhone to the computer and open iTunes (make sure you are using the latest version and your computer is connected to the internet). The Carrier settings update pop-up will be prompted to download and update carrier settings for your device.

Update Carrier Settings on iPhone from iTunes
To update carrier settings on iPhone, just click on the Download and Update button to start the procedure. Your carrier settings will be updated in a less than a minute. After that we recommend you to reboot your device and start using it with the new carrier settings.
If you have problems while installing the carrier settings update, please post a comment below. We will be more than glad to help you!


