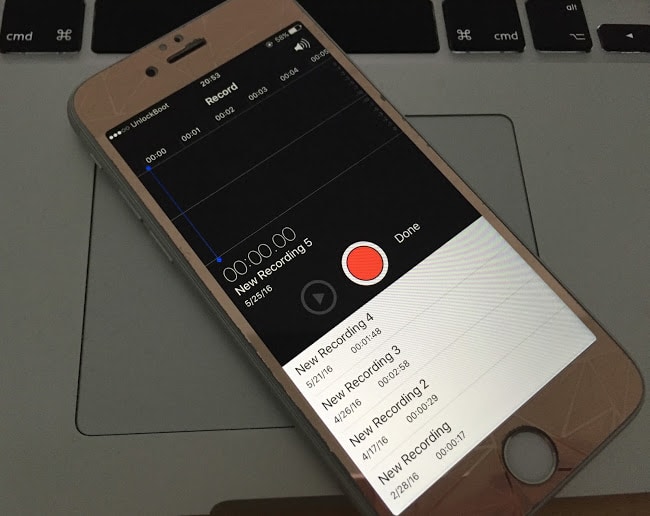
Voice memos are tiny pieces of voice recordings on an iPhone, typically recorded through the voice recording app and these could be snippets of songs on someone’s own voice, or few seconds from a music clip to Shazam or TrackID it later, a class lecture worth listening to over and over again, or maybe just an instant interview when a high end voice recorder isn’t readily available. Whatever be the case, voice memos come very useful in all of them and they are stored inside the iPhone storage once the recording is done and user hits the Stop button.
Typically, recorded voice memos could be synced with Apple iTunes so that a backup is kept in the computer and the user can use these clips on their computers aside from on the iPhone itself. However, many new Apple iPhone users don’t know how to transfer the voice clips from an iPhone to their computers – this article intends to provide a short go-through of the procedure.
Requirements to Transfer Voice Memos from iPhone
The first and foremost requirement is to have an iPhone or other Apple device that is capable of running recording voice memos. Also, a fast internet connection would be required to download the latest version of iTunes. For faster data transfer, using the official lightening cable provided in the box is always recommended. Choice of operating system on a computer isn’t no issue because iTunes supports both Windows and Mac, and so does this transferring.
How to Transfer Voice Memos from iPhone to Computer
Transfer Voice Memos from iPhone
Assuming you have gathered everything mentioned, following are the steps to transfer a voice memo from an iPhone to a computer.
- Make sure the iPhone (or other Apple device) is turned on. For iPods, you might require a different cable other than the lightening cable, use the cable that came with the device’s box. Connect the cable to the computer, and to the iPhone you have.
- Once both devices are connected, open iTunes on your computer. The device will be detected shortly and the user will be notified.
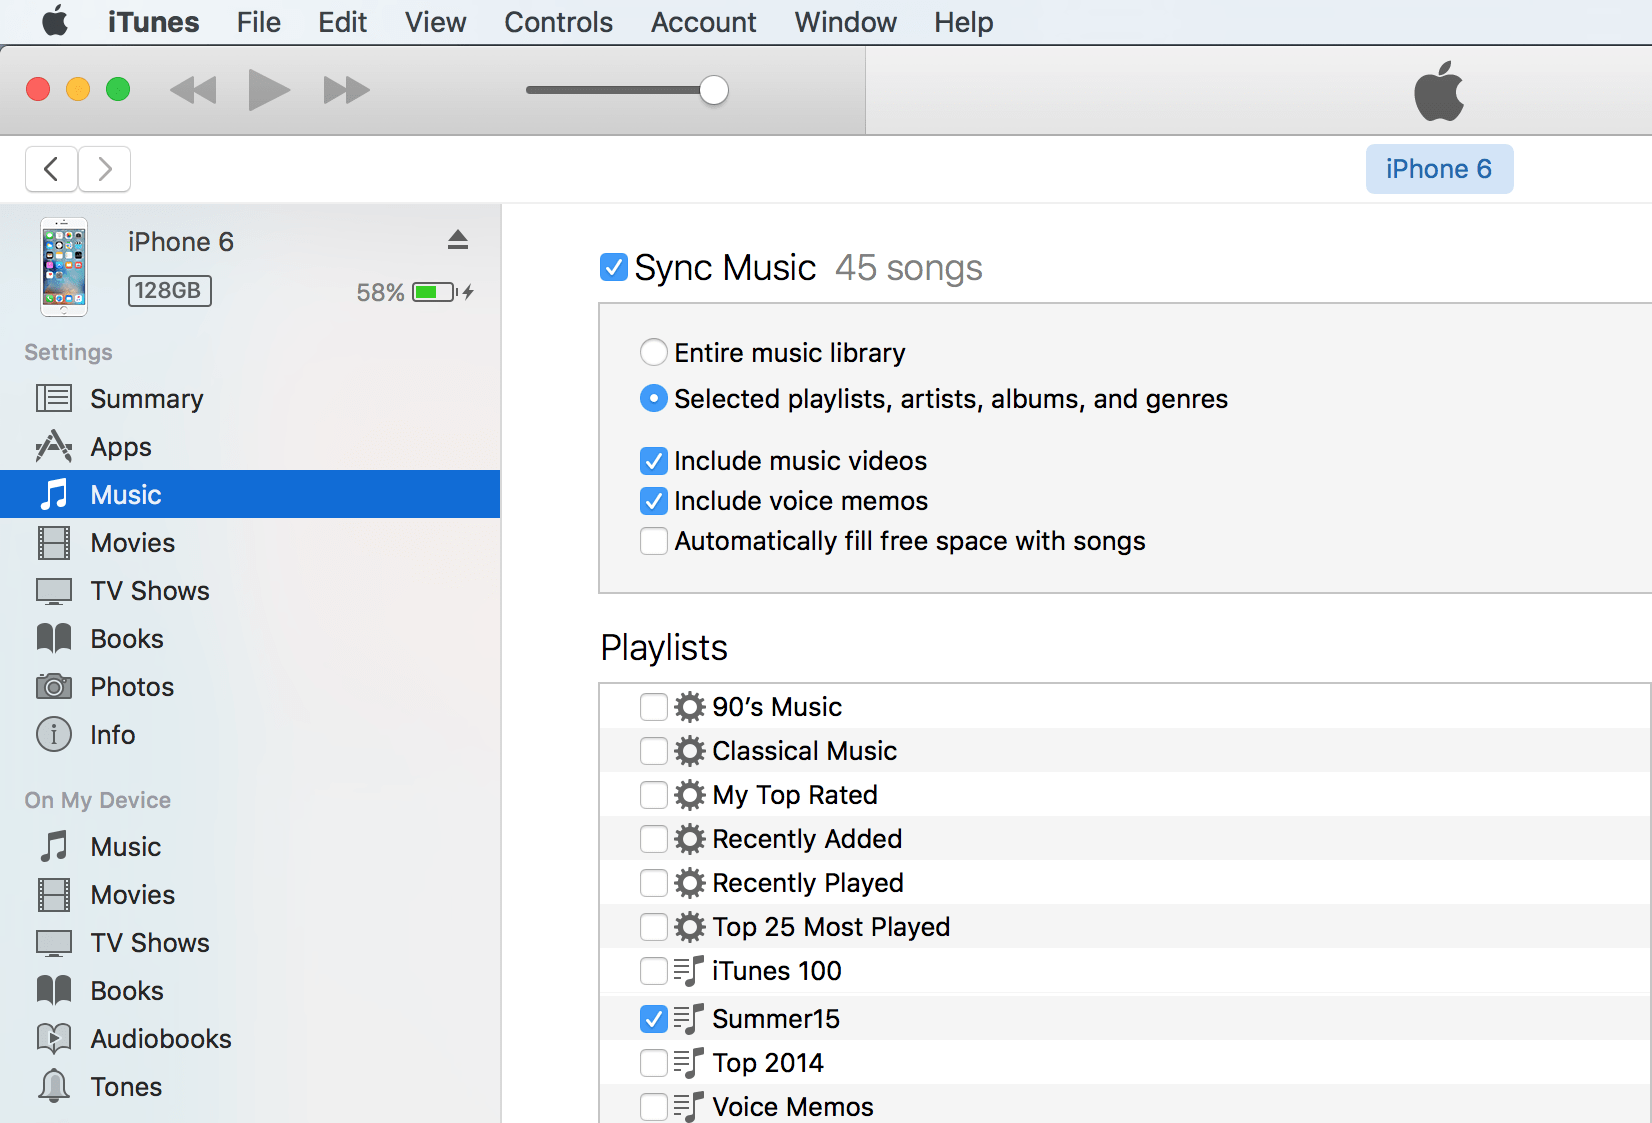
- There would be plenty of tabs, however to transfer recorded voice clips the user only needs the ‘Music’ tab, to be found at the top of the screen.
- The ‘Sync Music’ option is typically used to sync music clips between the computer and the Apple device, however for the voice clips make sure you have checked ‘Include voice memos’ before you choose to sync the music.
- The voice clips will be extracted and found on iTunes, and they will start downloading to the host computer for saving. Sooner enough, the specific folder used for syncing music with an iPhone via iTunes will have the recorded voice memos as well.
- You’re done!
Third Party Programs
The iTunes method is the easiest for moving voice memos back and forth between an iPhone and a computer, however there are third party programs for the same purpose. Wondershare TunesGo happens to be a much renowned program, and there are a lot more if you go through the market.
Conclusion: Transferring voice memos had never been easier on an iPhone ever before. However, if you aren’t comfortable with either of these methods, then someone else might be able to get the job done for you.


