Regardless of your OS – whether it’s Windows 10, 11 or macOS Sierra – you could face the instance where your device refuses to reboot. This can happen for numerous reasons, including hardware failure, file corruption, malicious update, and the likes. If something similar happens with your Apple PC, you can repair it with macOS bootable USB that features installation media.
This is one of the core arguments for making a macOS bootable USB on a Windows PC when your Mac is working correctly. However, if none of your Apple computers [MacBook Air, iMac, Mac Pro, Mac Mini, MacBook Pro or MacBook] are working, then a Windows PC can be used to rescue the PC. You can use a Windows 10, 11 or Windows 8.1/7 to create a bootable USB installation media for reinstalling macOS Sierra on your Apple PC.
Guide to Creating a macOS bootable USB on a Windows PC
In this tutorial, we’ll take you through the steps you need to take to create a macOS Sierra bootable USB installation on a PC featuring Windows 11, 10, 8 or Windows 7. This can then be used to upgrade or reinstall Apple’s MacOS.
The pre-requisites
Before taking any step, you’d need the following:
- A problematic Mac PC with OS X or MacOS Sierra [10.12 or a later version].
- TransMac software [trial version would be sufficient].
- 16GB flash storage.
- A copy of macOS DMG file.
Steps to Create a macOS bootable USB on Windows 11/10/8/7 PC
To use the latest macOS version to make a bootable USB drive, take these steps:
Step 1: Download, launch and install the TransMac software on Windows. The software comes at a cost, but you’ll get a 15-day trial free of cost, which is just enough. P.S. If you like TransMac, you can buy the paid version and show some love to the developer.
Step 2: Put in the USB flash drive you wish to use to resolve the problem of Mac. If you have a backup on the USB, remember to copy it somewhere, as the USB’s content will be erased.
Step 3: Right click on TransMac and choose “Run as administrator.”
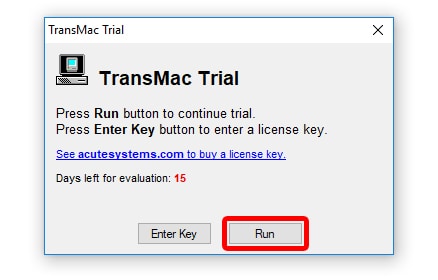
Step 4: If you’re using TransMac’s free trial, click Run after waiting for a total of 15 seconds.
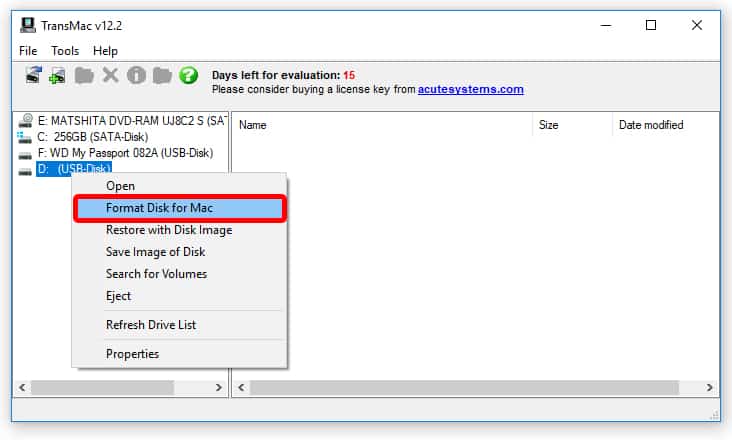
Step 5: On the late pane, right click the flash drive of USB, and choose “Format Disk for Mac.” You should do this before making bootable media because there is a probability that a Windows device was used to format the drive. If that’s the case, it’s likely that it is making use of the MBR partition. However, for it to work on Mac, it requires GPT partition.
Step 6: Click “Yes” on the warning message when prompted to continue formatting.
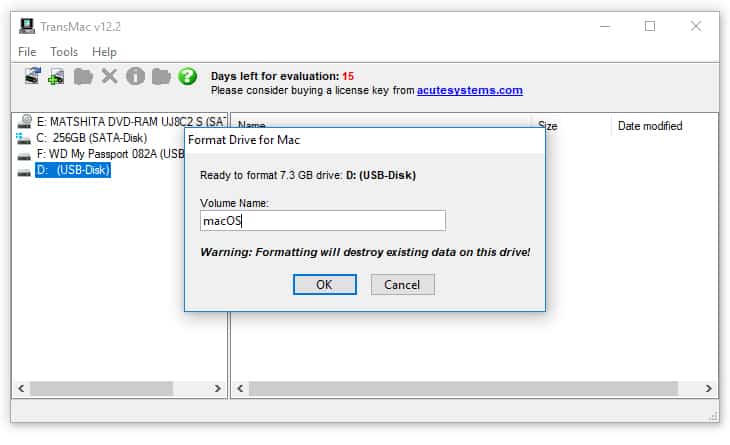
Step 7: Give some name to the drive and click “OK.” For example, you could name it “macOS bootable USB.”
Step 8: Now proceed further by clicking “Yes.”
Step 9: Click “OK” to continue when the formatting finishes.
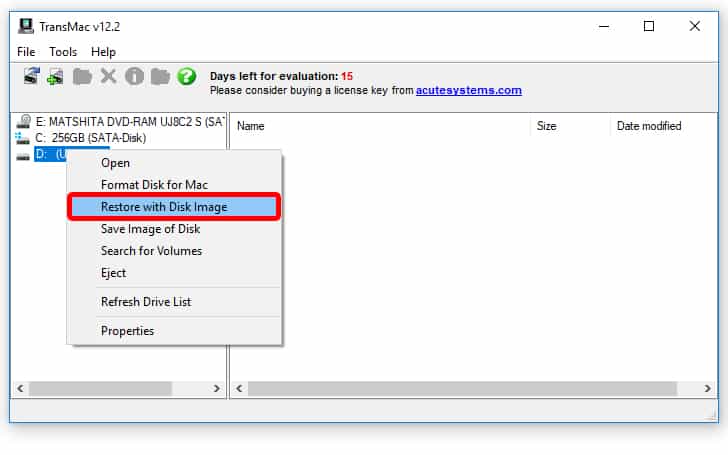
Step 10: Next, right click on the flash drive of the USB, choose “Restore with Disk Image.”
Step 11: Click “yes” to erase the data on the flash drive when you get the warning message.
Step 12: Now on the right, click the button that says browse, and find the .dmg file with the installation files of macOS.
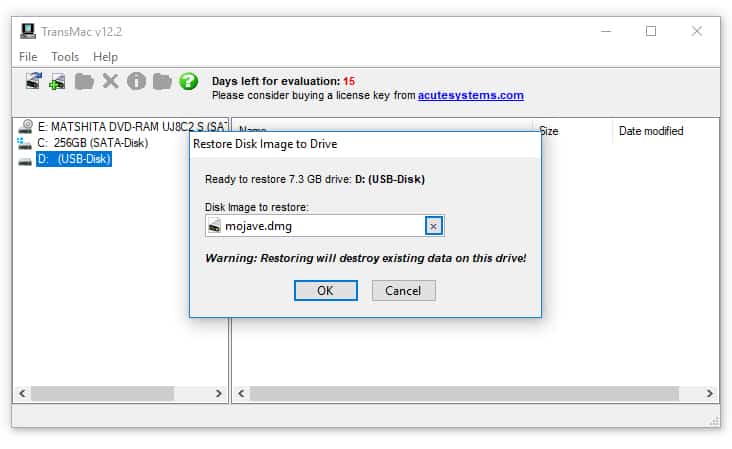
Step 13: Now click “Open” > “OK” > “Yes’ to make the macOS USB bootable media.
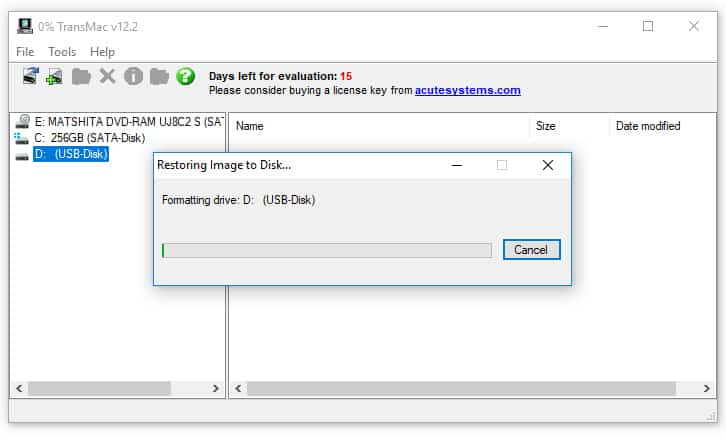
Once the process comes to an end, put the USB flash drive on your Mac PS to reinstall, install, or ugrade the OS to macOS’s newest version, which could be Sierra or above.
Steps to Create GPT Partition on a USB flash drive
If the USB flash drive doesn’t work with TransMac, you could still be facing an issue of partition. When that happens, you’ll want to repeat the whole process, but this time around, follow the steps listed below to utilize the Dispart command-line utility on the Windows PC for creating the relevant GPT partition.
- Launch Command Prompt in system administrator
- Type the command “diskpart” and press “Enter.”
- Enter the “list disk” command to each drive connected to your PC and press “Enter.”
- Now type the command “select disk” followed by the assigned number for the flash drive “select disk 4”, and press “Enter” again.
- Now enter “clean” command and press “Enter.”
- Enter the “convert GPT” command and hit “Enter.”
- Type the “create partition primary” command and tap “Enter” to finish the process.
After you’ve made a GPT partition for the USB flash drive, you can leverage the instructions above to leverage TransMac to make bootable media, but ignore the steps 5-9 this time around, and do what it says from the tenth step onward.
Once the process ends (note that it could take 30-60 minutes), connect the flash drive of USB and switch on the Mac PC while holding the “Option” key, and choose the USB flash drive to start the installation.
If you’re facing an issue producing bootable media, you can buy a flash drive that comes in the package of macOS Sierra.
That’s it. You’ve successfully created a macOS Bootable USB on a Windows PC. Feel free to use it at your will to fresh install macOS’s latest OS on Mac.
")


