Apps like Miracast can help you mirror your laptops to a Smart TV but using Chromecast, will make it more effective and efficient. The process to setup Chromecast on Windows 10 is fairly easy and simple. And, in no time you will be able to cast movies and videos from your laptop to TV. Just read the following guide on how to setup Chromecast on Windows 10.
Requirements needed to Setup Chromecast on Windows 10
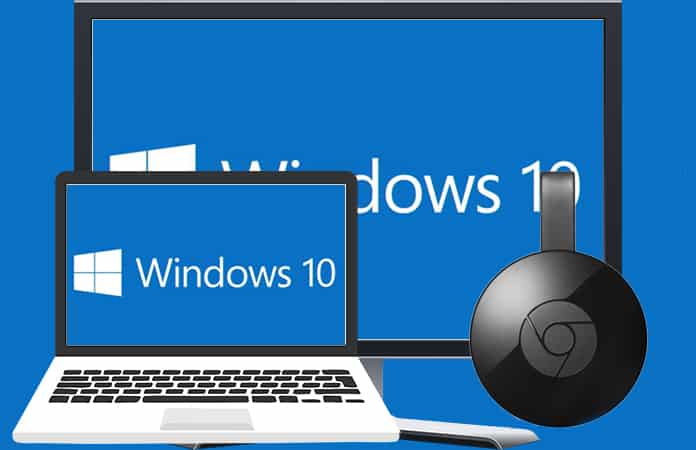
- Google Chromecast Device.
- Computer with Windows 10 installed.
- Google Chrome Browser.
Now once, you have checked that you have all the above three items in your arsenal. Then proceed ahead with the following steps of plugging Chromecast into your TV and setting it up on your Windows 10 computer.
How to Setup Chromecast on Windows 10 PC
- Plug the Google HDMI Chromecast device into the HDMI port of the TV and then power it by plugging in the USB power adapter to the Chromecast.
- Select the source input of the TV for which you have plugged in the Chromecast device. You can check in which HDMI port you have plugged the device by either reading the label on the Television itself or by checking HDMI source input and see if the display changes.
So now the Chromecast device has been successfully connected with your TV and now we will go ahead to setup Chromecast on Windows 10.
- Go to the website https://www.google.com/chrome and download the Chrome browser. Then just install the Google Chrome browser on your PC, unless you have already installed and browsing on it.
- Now, open the Chrome browser from your PC and then visit the website: https://www.chromecast.com/setup
- Now, from the site choose the option to setup Chromecast using this computer.
- Next, it will ask you to agree to the Chrome Privacy Terms and Condition, click on the Accept button.
- After that, the page will automatically try to find your Chromecast device or any available device connect to a Wifi Network.
If your device is not found then you can try to power off and on the Wifi Network or try to switch the Gigahertz from 2.4 to 5 GHz or the other way around.
- Once, your Chromecast device has been detected by the browser, click on the Set Me Up button.
- Now, click on your Wifi icon located in the right corner of your Windows taskbar and then click on the Wifi network labelled your Chromecast’s device.
- So once you have connected to the Chromecast’s Wifi, click the button, Next.
- Next on your PC screen click Yes if you see a code that matches with the code appeared on the TV screen.
- Proceeding ahead, Chromecast will ask you to enter a name for the device. Enter any name to your liking and then click on Looks Good.
- A prompt will ask to confirm your Wifi settings. So choose the Wifi network you want to connect to and enter the password. Then, click on the Connect button.
- The device will then show you the screen, it is going to be the Ready to Cast! screen.
That’s it now you have just setup Chromecast on Windows 10. You can play videos directly from your Chrome browser to your TV. Just go to any Chromecast compatible site and play a video. Once the video plays click on the cast icon and it will the start playing on your TV.
Let us know in the comments below if you face any problems while setting up your Chromecast to your TV and we would love to help you out!


