The Mail app that Apple includes in their operating systems is quite an all-star. People who need a mail client able to handle emails like a pro could certainly resort to Mail for a better experience, however that would require owning an Apple device like the Mac or an iOS device. Signatures play an important role in business emails. Adding them correctly to the end of an email might be an issue for many other mail clients, but Mail in Mac somehow manages to pull this off easily and accurately. Adding a scanned signature or a professional logo just don’t only make the email look more professional but also makes the client or other side of the business conversation put a little more faith on you.

Add Image Signature in Mail App on Mac
Basically, the option to add an image has been added to add a signature in the end like a real paper. A world with heavy paper works in offices needs actual signatures, however the modern day paperless offices are mostly reliant on emails and pdf forms. Just in case adding a signature is needed, the Mail app users can do so by scanning a signature and adding them to the last of the email as a scanned image. Basic criteria for a signature is wider in horizontal direction, like 200 pixels wide and 80 pixels tall. A logo might have a different dimension though. As long as it fits the email and looks good – it’s fine.
To prepare a signature or logo – Pixelmator, Photoshop or Preview apps are helpful.
Steps to Add Image to Email Signature on Mac
To add an image to an email as logo or signature, do the following procedures.
- Launch the Mail app from the Dock. Click on the icon and it will launch within few seconds.
- Click the ‘Mail’ option on the top left corner of the menu bar. From the dropdown, click on ‘Preferences’.
- The Preference window should have few tabs like General, Accounts, Junk Mail etc. To the right corner, find ‘Signatures’.
- Click on the tab and from the left column, choose the email address you want to add a signature or logo for.
- The image file you want to use as signature should be kept in the desktop. This way, you can simply drag & drop the file into the signature box in the right column of the window.
- The mid-column will show the signature by a title name. Using the ‘+’ and ‘-‘ button in the bottom of this section, a new signature could be added or an existing one could be removed.
- To add more, either drag & drop the new signature inside the window like before or use the ‘+’ icon.
![]()
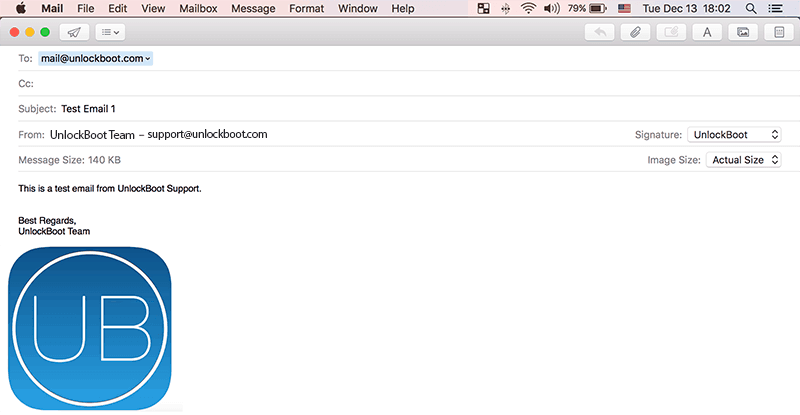
You’re Done! You can send your first email with an image signature.
Conclusion: As a signature or logo has been added for a specific email account in Mail app Preferences, it will now be attached with any email that’s sent to any recipient. An email with a logo or signature looks more professional, however make sure you update the image if any change is made to your business logo or signature.


