Apple just introduced a new image-file format, the HEIF short for High Efficiency Image File Format. This update is for both the iOS 11 and MacOS High Sierra. And it reduces the file size by half compare to the JPEG format. You can convert HEIF images to JPEG, which we will talk about in a moment. HEIF files are saved with the .HEIC extension.
Why Convert HEIF Images to JPEG
Many users might have a compatibility issue if they interchange images file between iOS, Android and PC. Therefore, it is better to opt-in and convert HEIF images to JPEG. You can do so by using a conversion app developed by iMazing and did I mention that it is free.
Although, we advise against HEIF conversion to JPEG, if you are uploading and sharing HEIF files online. Because iOS 11 and MacOS High Sierra share menu can convert the HEIF file to a JPEG file automatically. Furthermore, the conversion does not affect the original HEIF file.
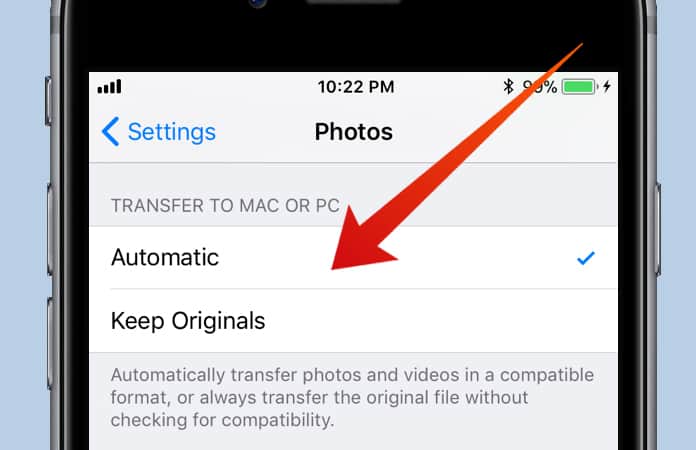
Moreover, the pictures taken in .HEIC files can be transferred to your Mac or PC as a .JPEG format, from the iPhone or iPad itself.
Go to Settings > Photos > under Transfer to Mac or PC choose the option Automatic.
So to answer the question, why to convert HEIF images to JPEG? Simple, syncing the HEIF files format between Apple and PC, may create some unforeseen issues. Likewise, many of the top apps does not support this image file format, yet! Other than that, software like Adobe Photoshop, Lightroom and Illustrator (as of writing this) does not also support the HEIF files format.
Here is How to Convert HEIF Images to JPEGs
Step 1: Begin with downloading and installing the free iMazing HEIC Converter app from App Store.

Note: Mac version require MacOS 10.8 or higher whereas, Windows version require WIN 7 or higher. From here you can download the Windows version: iMazing Website.
Step 2: Open the iMazing HEIC Converter on your Mac. A screen will open up and it will prompt you to drag and drop HEIF files to the screen.
Step 3: Follow the instructions > Open the folder with .HEIC files.
Step 4: Command (⌘)-click the images. Either, select all files from the Edit menu or press Command (⌘)-A, to select all files within the selected folder.
Step 5: Drag and drop the selected files to the iMazing HEIC Converter screen.
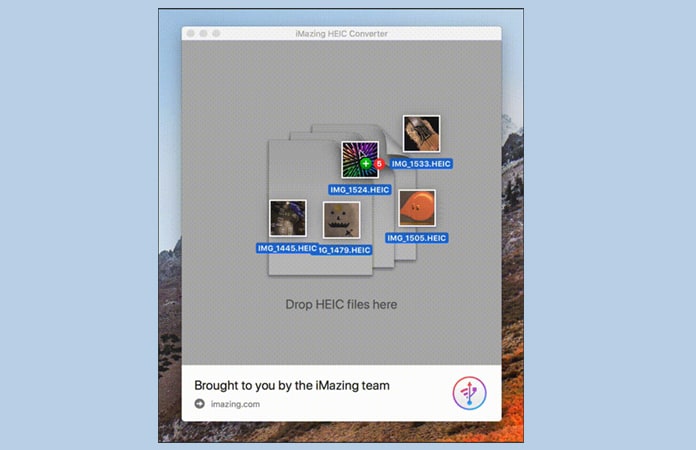
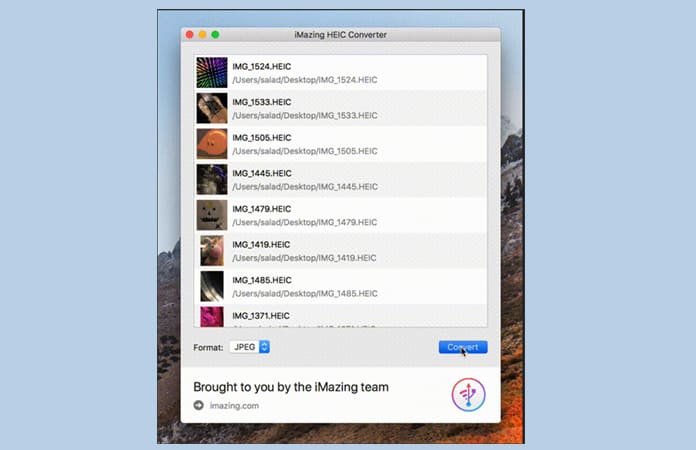
Step 6: Make sure all the selected HEIF files dropped on the screen from the list.
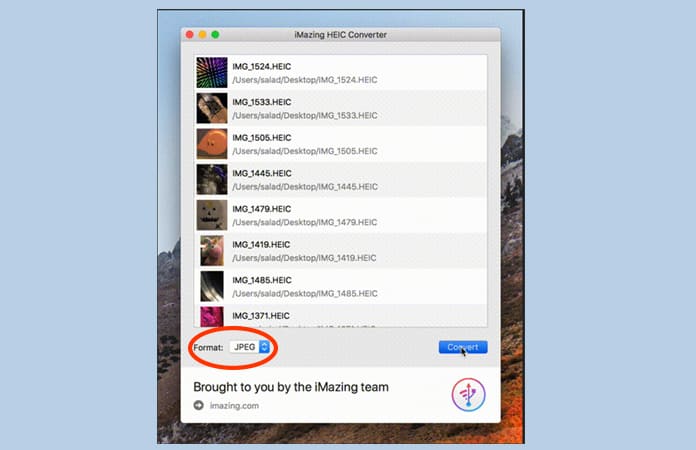
Step 7: Now select between JPEG and PNG by clicking the popup menu beside Format.
Note: JPEG will have a smaller size whereas, PNG will have a minimum effect on the image quality.
Step 8: Check the Keep EXIF data box, if it’s Unchecked.
Note: This box will save all the metadata to the JPEG file, like shutter speed, brightness, exposure and more.
Step 9: Choose the Quality by moving forward and backward on the slider. A higher value means better quality, but with bigger size. And the lower value means low quality, with smaller size.
Step 10: Now, click Convert to start the conversion process.
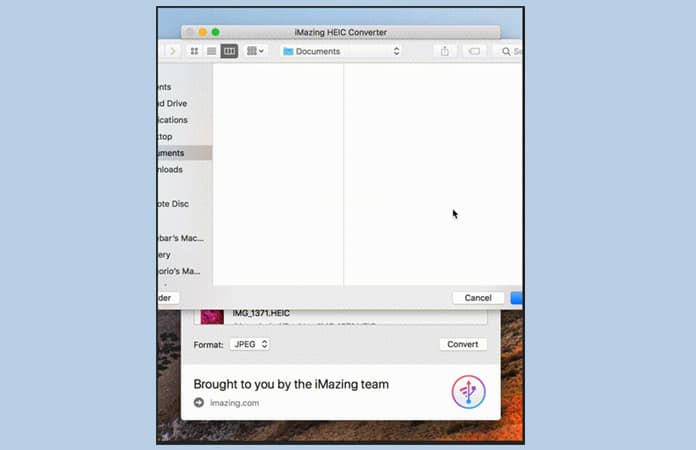
Step 11: It will ask you to select a folder on your Mac, so that it can save the converted JPEG files. Either you can select any of the folders you prefer or create a new folder. Next, click Choose to proceed.
Step 12: Once completed, a dialog box will appear. You can click OK and access the folder manually or click Show Files to open the folder where the converted files are saved.
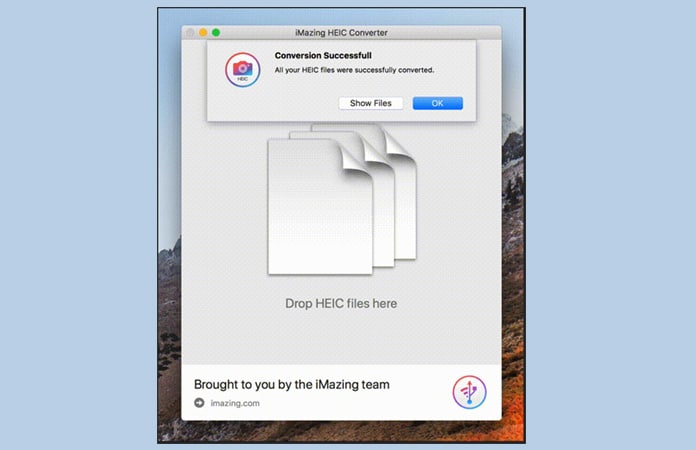
Click OK to finish using iMazing HEIC Converter and locate your JPEGs manually, or hit the Show Files button to have it open the folder you designated as your destination for the JPEGs.
Read Next: How to Convert Live Photos to GIF
That’s it, you know how to convert HEIF images to JPEG by using iMazing HEIC Converter. Let me know in the comments are you happy with the new file format or still prefer the images in JPEG format.


