Adding a passcode is the usual route taken to increase the security of your device. However, you can forget the passcode easily or a kid messed up the passcode or someone made a lucky guess, then the device is going to get locked. This is where you get the ‘iPhone is disabled’ message. However, there is no need to worry as we have your back.
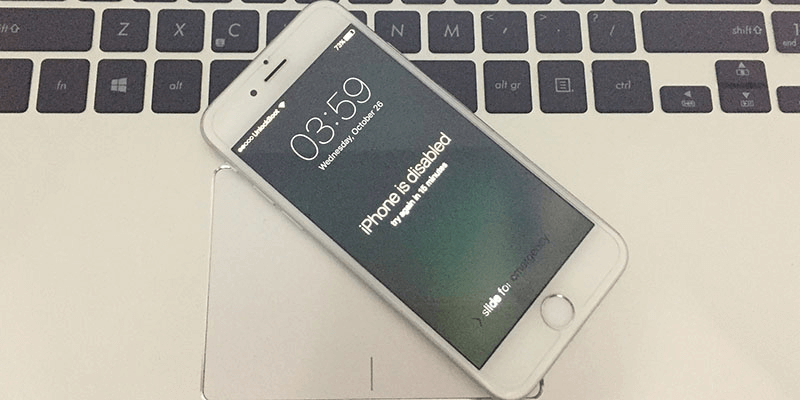
How to Fix iPhone is Disabled Error Easily
If you make the passcode wrong 6 times of more, you’re going to see the message your:
- iPhone 4 / 4S / 5 / 6 / 6S / SE / 7 / 7 Plus / 8 / 8 Plus / X / XS / XS Max / XR is disabled
- iPod touch 6G / 4G or 5G is disabled
- iPad / iPad 2 / 3 / 4 / Air / Mini / Pro is disabled
Entering wrong passcode for the first few times gives you an option to try again after a few minutes, but after you keep making attempts but fail in the end, you get the message ‘iPhone is disabled, connect to iTunes’.
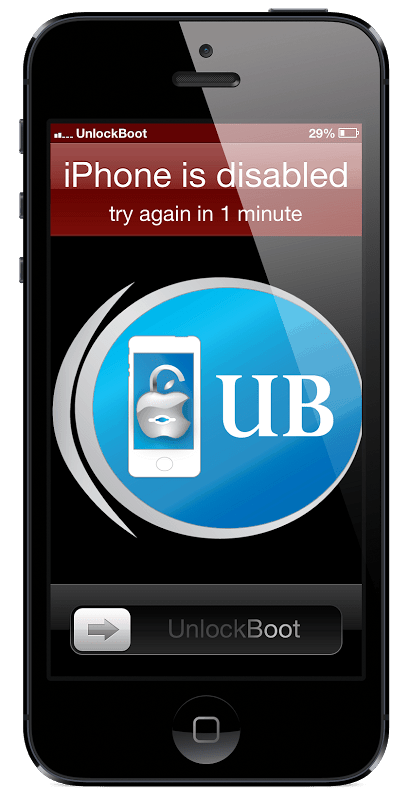
There are two options available to you on this instance and the situations possible.
- Your device was synced with iTunes in a PC and there’s backup available with you.
- Your device hasn’t been synced with iTunes before, or the computer on which you performed the sync isn’t near.
- You have access to the iCloud account that’s connected with your device.
Fix #1: In case You have Synced your Device with iTunes
In this method, you can restore the device using the passcode.
Step 1: Connect the device to computer (the one you’ve previously synced the device to). iTunes is going to open it automatically, and the case it doesn’t, go ahead and open it yourself.
Note: If iTunes asks you to enter a passcode, connect the device to another computer that you’ve previously used for iTunes sync.
Step 2: In the bottom right section of iTunes, right click on the device and choose Back Up.
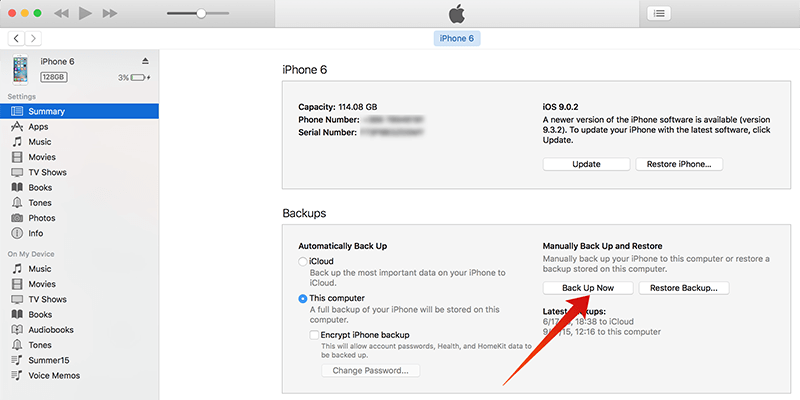
Step 3: Select Restore after the backup is complete. You can now use the latest back up to restore the device.
Fix #2: In case You have NEVER Synced your Device with iTunes
After the device is connected to iTunes, you’re going to see some errors such as ‘iTunes can’t connect to the device because it has a passcode applied. Enter the passcode before it can connect to iTunes’. Follow the steps below to put your iPhone in Recovery Mode & restore it with iTunes:
Step 1: Hold the Sleep/Wake up button to switch off the device until the slider comes up. Slide to switch off the device. You can also do this alternatively by holding Sleep/Wake button and the home button for a few seconds to switch off the phone.
Step 2: Connect the USB cable to iPhone but don’t connect it to computer. Launch iTunes on your PC or Mac.
Step 3: Press and hold the Home Button and connect the other end of the USB cable to the computer now (make sure iTunes is open at this time).
Step 4: Keep holding the Home button and wait for the device to switch on. After few minutes, the ‘Connect to iTunes’ will appear on the device. This is where you let go of the Home button.
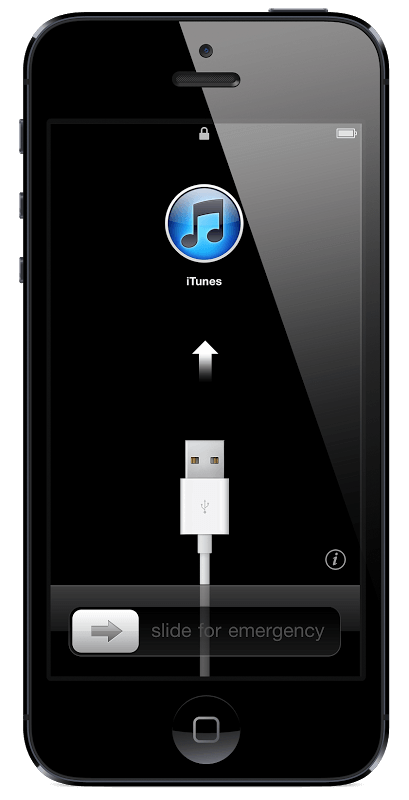
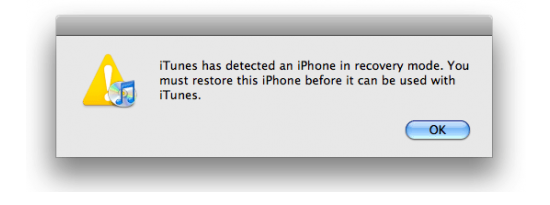
Step 5: iTunes should say that the device has been detected in Recovery Mode. Select OK and Restore for the device to be restored.
Below is a detailed video guide with all the steps on how to recover a disabled iPhone or iPad.
#3: More Methods to Fix iPhone is Disabled Error
If you’re aware of Find My iPhone, try restoring the device through Remote Wipe feature. If you currently keep an iCloud backup, try restoring the device through the latest backup available. This may reset the passcode.
Related Fixes & Guides
- How to Restore your Disabled iPhone 7 or 7 Plus
- How to Restore your iPhone Without iTunes
- How to Fix an iPhone Stuck In Recovery Mode
- How to Fix an iPhone Stuck on Apple Logo
- How to Fix Software Update Failed Error on iPhone or iPad
These are the ways you fix the iPhone disabled error. In order to avoid the issue altogether, you can regularly sync the device to iTunes. Feel free to ask questions on the iDevice is disabled error in the comments section below.




![30 Best Cydia Repo Sources For iOS 16/15/14 Jailbreak [2024] best cydia sources 2020](https://cdn.unlockboot.com/wp-content/uploads/2020/06/cydia-sources-13-100x70.jpg)