If you own an Apple device then you would know that iTunes is one of the most important and powerful apps that the tech giant has ever developed. iTunes is a default app that is pre-installed on all the Macs and PCs in the world. Although it is no more as vital for an iOS device as it used to be, it is still an essential portal for purchasing, managing, and enjoying the digital media. However, there are some users who simply do not like iTunes due to various reasons and they look to use alternative media software such as Fidelia, VLC, or Vox. Today we will show you how to uninstall iTunes on Mac in five quick steps.

If you are one of those who doesn’t want to use iTunes anymore, it is much easier for those users to uninstall iTunes in Windows, however, if the device runs on OS X you might not be able to do that so easily. Thankfully, there’s a simple alternative available to work things around.
How to Uninstall iTunes on Mac OS
Before going ahead with telling you how to delete or uninstall iTunes on Mac OS, we would like to tell you that unless you have a very good reason to delete the app, you should not be doing it. iTunes app provides significant support to the Apple devices, its features, and different hardware components. It manages everything ranging from the iTunes Store to the App Store. Unless you have the app installed on your device, you won’t be able to integrate it with books, music, movies, or other apps on iPod, iPhone, iPad, or Apple TV.
5 Steps to Uninstall iTunes on Mac OS
If you anyways want to remove iTunes from your Mac, here’s a quick guide explaining how to do it:
Step 1: iTunes is preinstalled on your OS X and it is considered as an important and required software. So, if you simply try to drag and drop the file to the trash then you will get a warning message that goes something like this:
“iTunes cannot be modified or deleted because it is required by OS X”
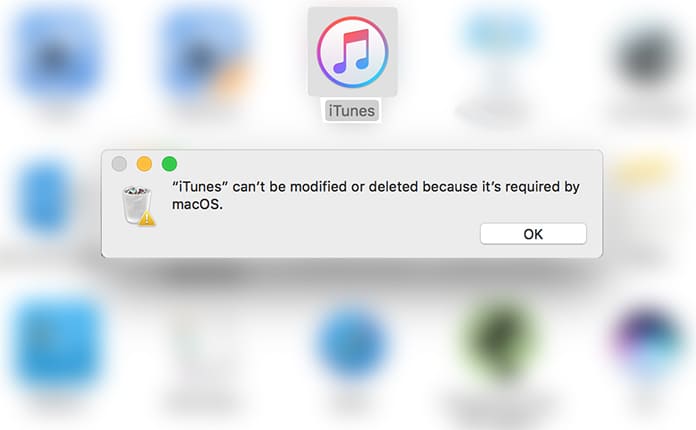
iTunes can’t be modified or deleted because it’s required by Mac OS
This message is kind of exaggerated because you don’t actually need the app for the basic functioning of the operating system. Although you might need it to play media files at times, however, there’s a powerful alternative name QuickFile that can easily do the job for you.
Step 2: When you are determined to delete the app, simply ignore the message and go to the Applications folder. There you will discover the iTunes app file (here is the path – /Applications/iTunes.app). Now you simply need to right click on the iTunes app and choose the option that says ‘Get Info’.
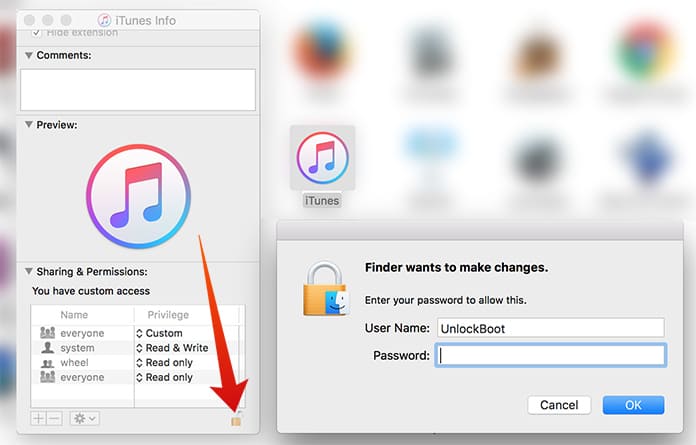
Change permissions to uninstall iTunes on Mac
Step 3: Look for the padlock icon present on the bottom right side, click on the icon and enter your admin password. By doing this you will be able to make necessary changes to the permission settings.
Step 4: Now, you can go ahead and expand the ‘Sharing & Permissions’ section of the window if it is not visible already. You may change the privileges and make it open for everyone to read and write. This will give you full control of the iTunes app so that you can easily overrule the warning message displayed.
Step 5: Now, close the ‘Get Info’ window and again try to drag the iTunes app file into the Trash. This time you will not get any warning and the file will be deleted almost immediately. You can now go ahead and empty the trash to complete this process.
Congratulations! iTunes is no more a part of your Mac and you are now free to install any third-party media software. If you deleted iTunes accidentally, don’t worry because you can easily reinstall the app by simply launching the Mac App Store’s Software from the update section.
")


